Machine Embroidery: Christmas Stocking
You can purchase Christmas Stocking 0001 digital embroidery design in our shop.
The supplies needed (photo 1):
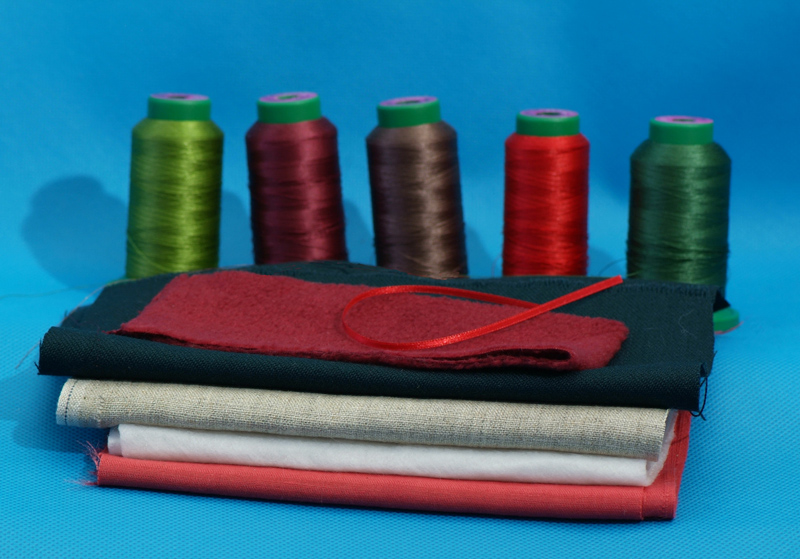
- A water soluble nonwoven stabilizer. For instance, Freudenberg’s Vilene Soluvlies / Solufleece (http://www.vlieseline.de/English/Products/Pre-Pack_range/Soluvlies.htm);
- Thick tear-away stabilizer (optional);
- A piece of lining fabric for the inside;
- Fabric for the stocking body part (we used linen);
- Fusible fleece. It’s very easy to use a lightweight iron-on pellon (fusible fleece) Vilene H630. Fix H630 on the back side before you start embroidering (photo 2);

- Small pieces of fabric for toe, heel and decorative strip;
- A piece of fabric for the stocking top, for example fleece;
- A narrow ribbon for hanger;
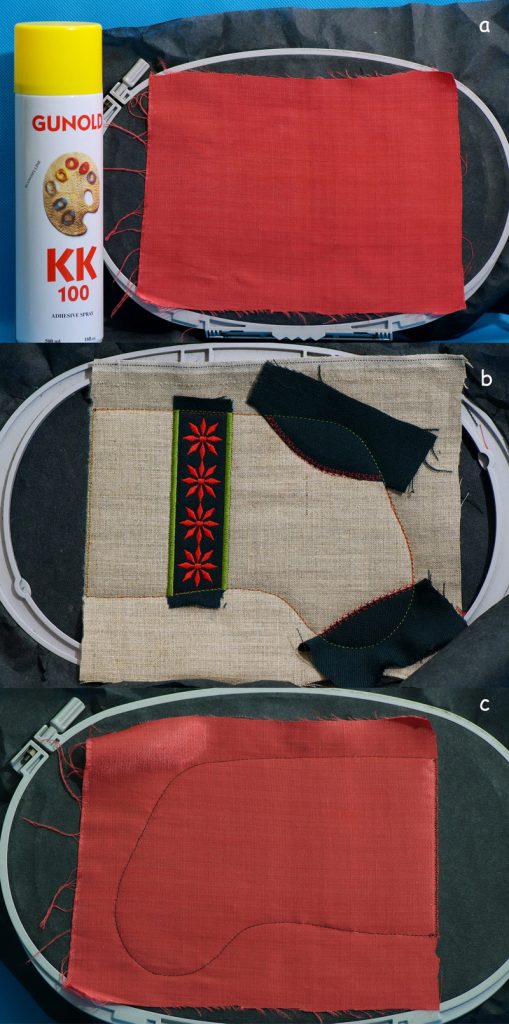
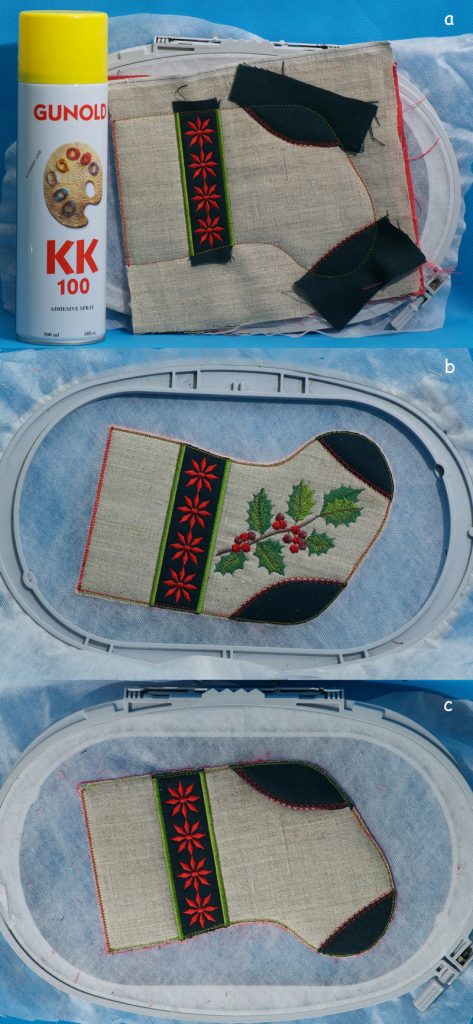
- Temporary adhesive spray. Before starting the work, test your temporary adhesive spray on your water-soluble stabilizer.
Let’s embroider a back side of the stocking – Christmas Stocking 0001 back!
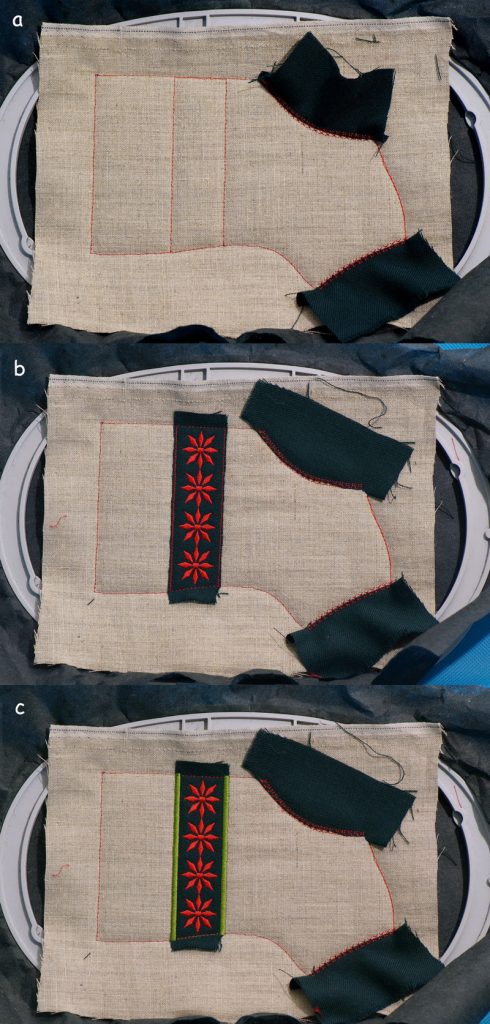
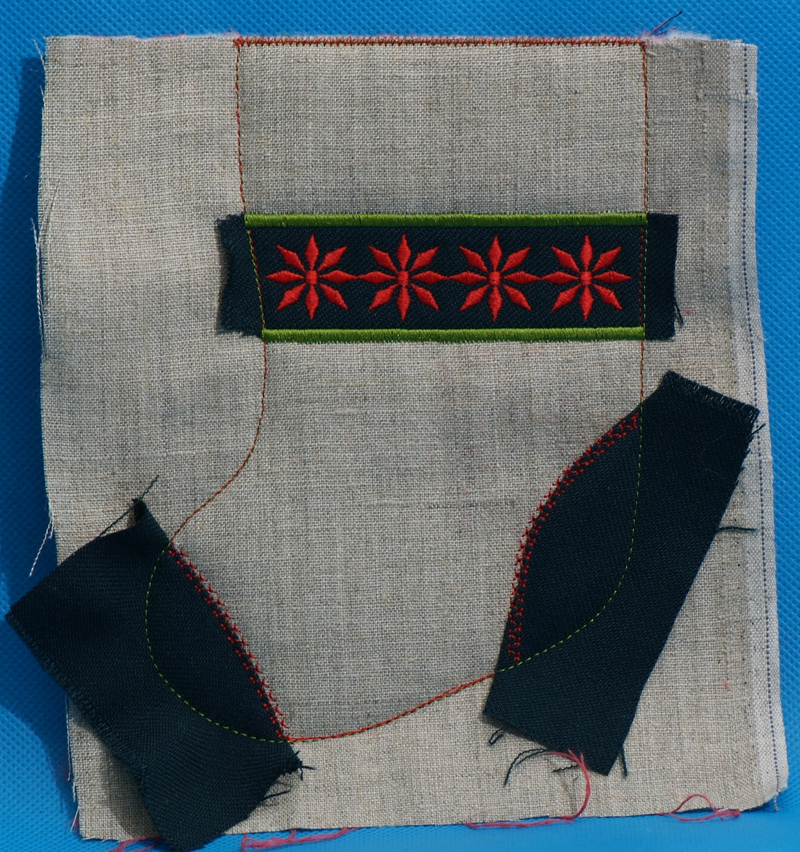
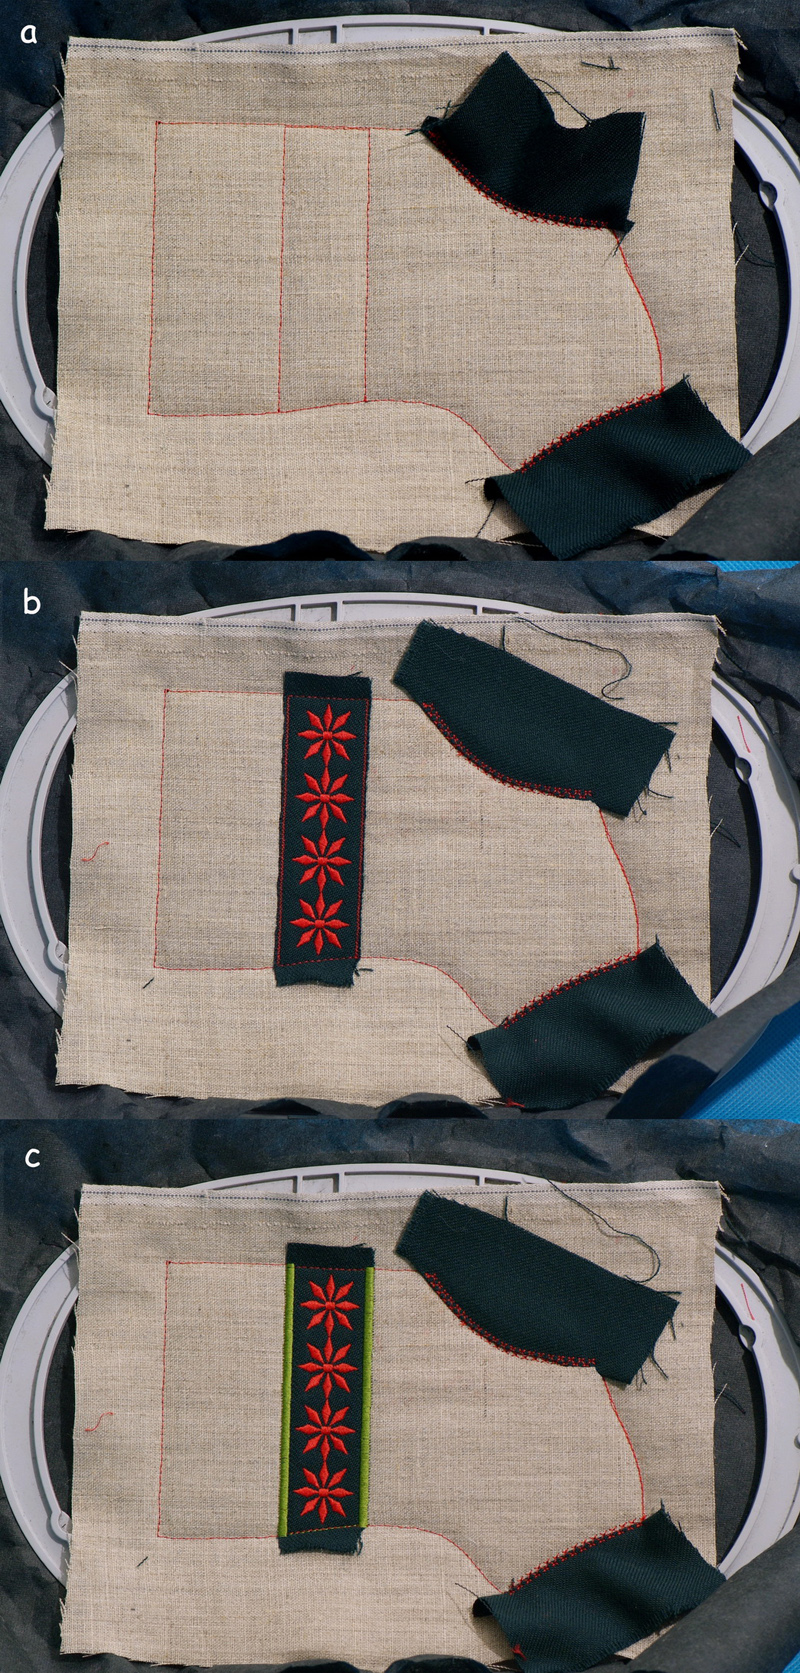
1. Hoop the water-soluble stabilizer (you can use tear-away stabilizer) and embroider the guidelines using running stitches – it’s colour number 1. Spray a shot of adhesive to fix the piece of fabric for stocking body, duplicated by Vilene H630 over the guideline. Then we begin stitching. Now we get a work piece with marked-up heel and toe (photo 3).

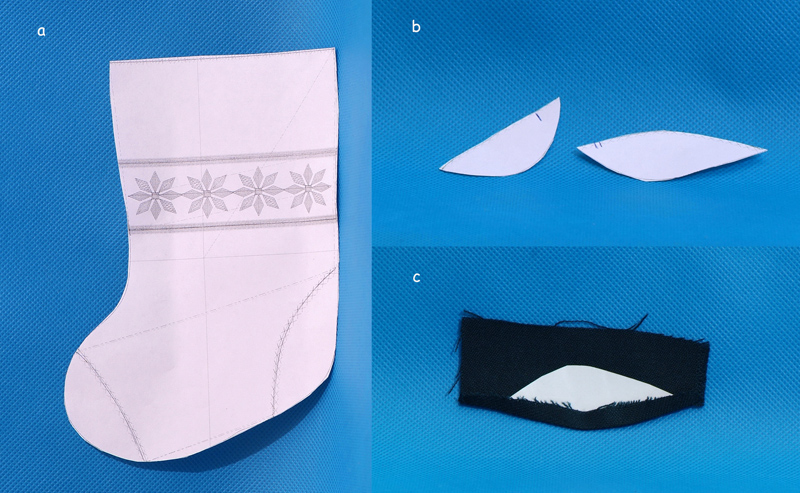
2. Let’s prepare items for the toe and heel. Cut heel and toe out of the printed design. If you don’t have a printer you can use tracing paper or a transparent film and mark for toe and heel on the embroidered design (see photo 3). Then cut toe and heel out of the construction paper. Take a piece of fabric, and put it with the prepared template. For example we take the heel, and iron in using the guideline with 0.5 cm seam allowance; the allowance can be slightly cut on the rounded side . Then we do toe in the same way (photo 4).
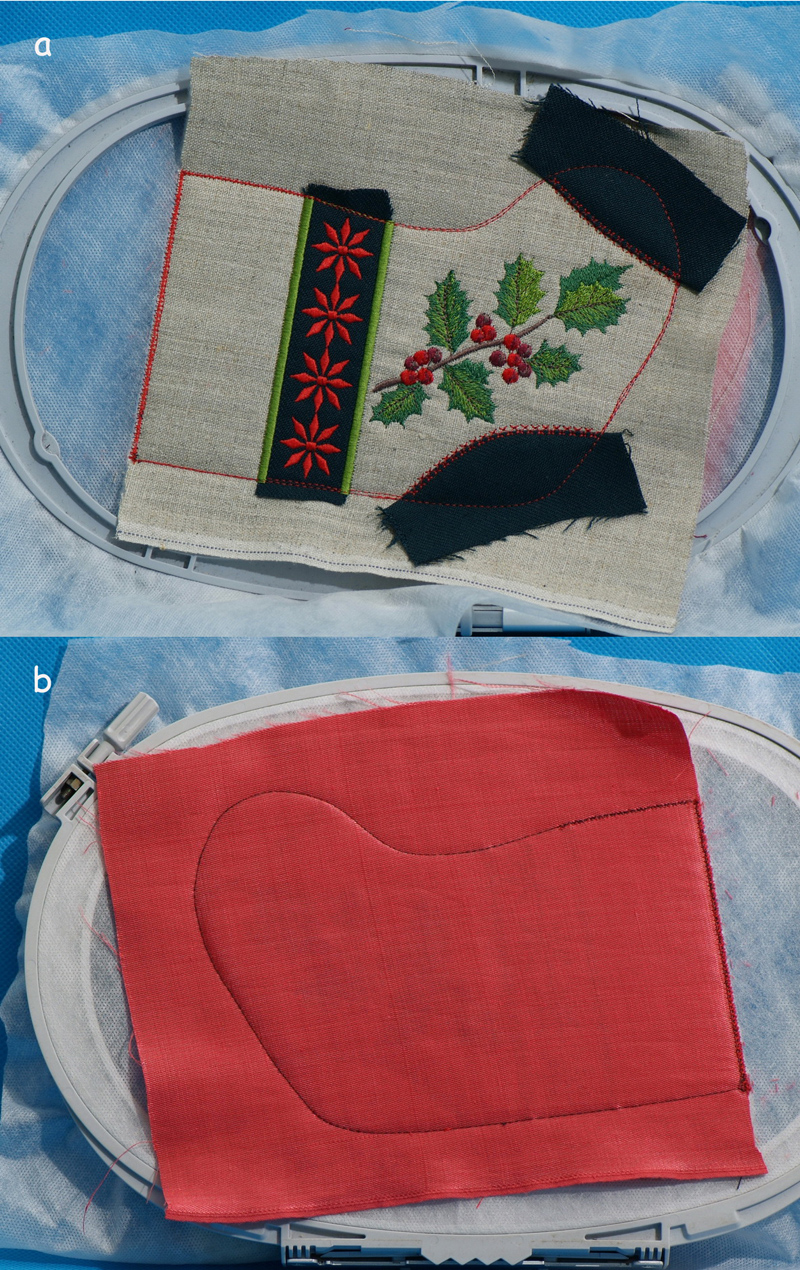
3. Place the toe and the heel onto the body fabric using adhesive spray matching the dielines. Then we sew it (photo 5).

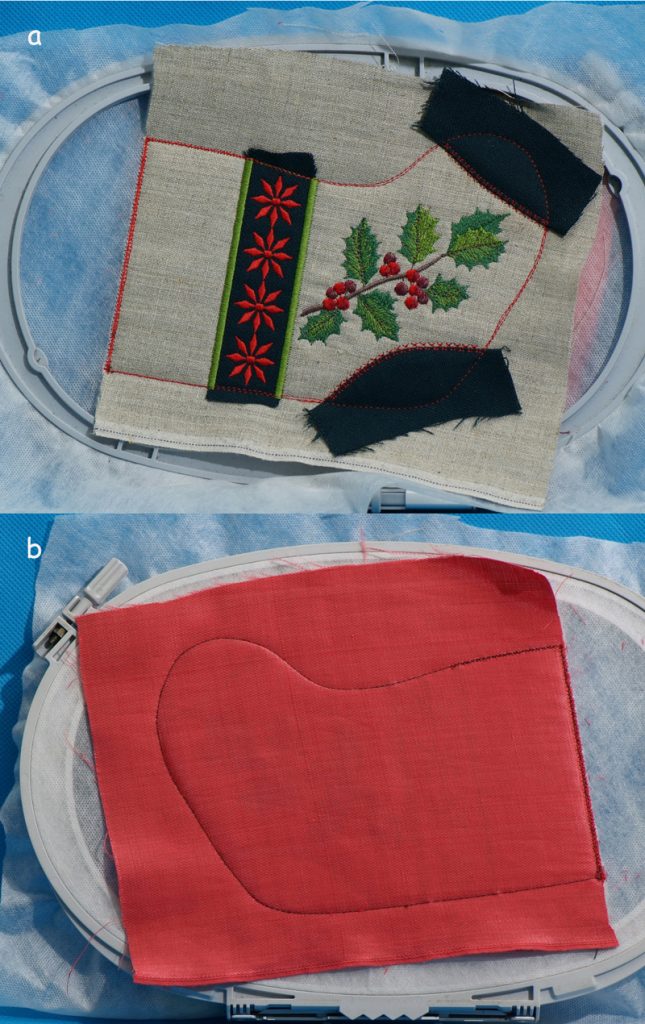
4. Make a mark for the decorative strip. Stitch and cut close to the line. Embroider the pattern and the satin stitches (photo 6).
5. Place a piece of lining fabric onto the backside using adhesive spray. Cut lining fabric and stocking body fabric close to zigzag stitches on the stocking’s top (photo 7).
6. Tear away the excess stabilizer, now we the embroidered park aside (photo 8).
Let’s embroider the front side of the stocking – Christmas Stocking 0001 front!
1. Hoop the water-soluble stabilizer. Then we embroider the front side as well as the back side. Cut lining fabric and stocking body fabric close to stitches on the stocking’s top. BE CAREFUL: do not damage the stabilizer! Do not take the embroidered front part out of the hoop (Photo 9).
Assembly.
1. Spray a shot of adhesive, then place the back side of the coin on the back side of the hoop, matching the edges. Zigzag stitch all the layers together. Cut away the excess fabric from the front and the back sides of the embroidery, close to the lines. BE CAREFUL: do not damage the stabilizer! (photo 10).
2. Now we embroider the rest of the design. Use the upper thread that matches the color of the bobbin thread (photo 11).
3. Carefully trim the water-soluble stabilizer around the embroidery. You can remove the rest of the stabilizer using water or a wet towel (photo 12).
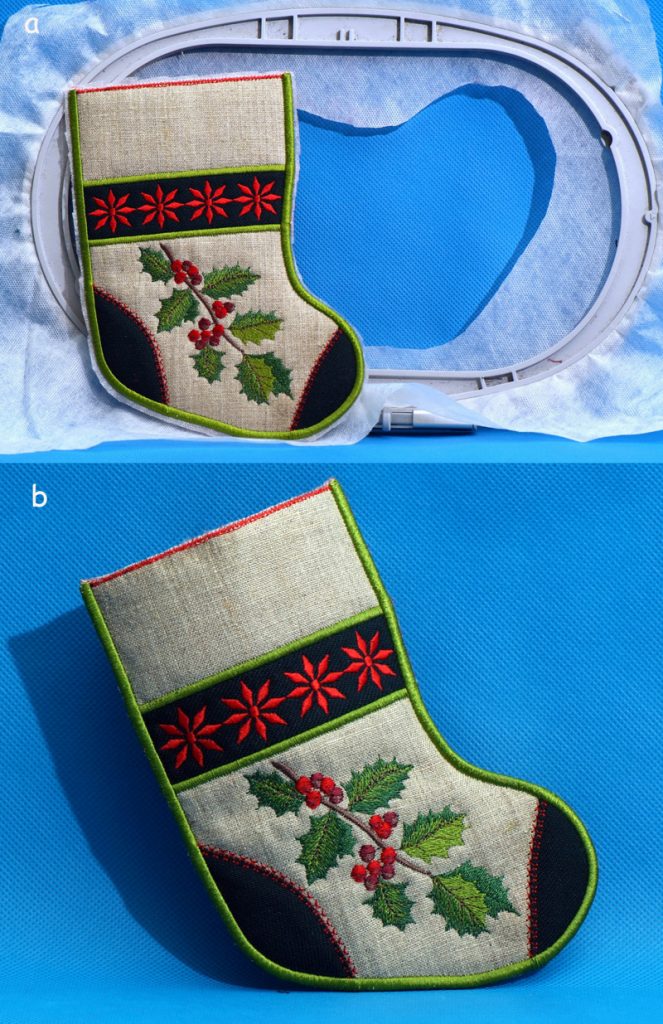
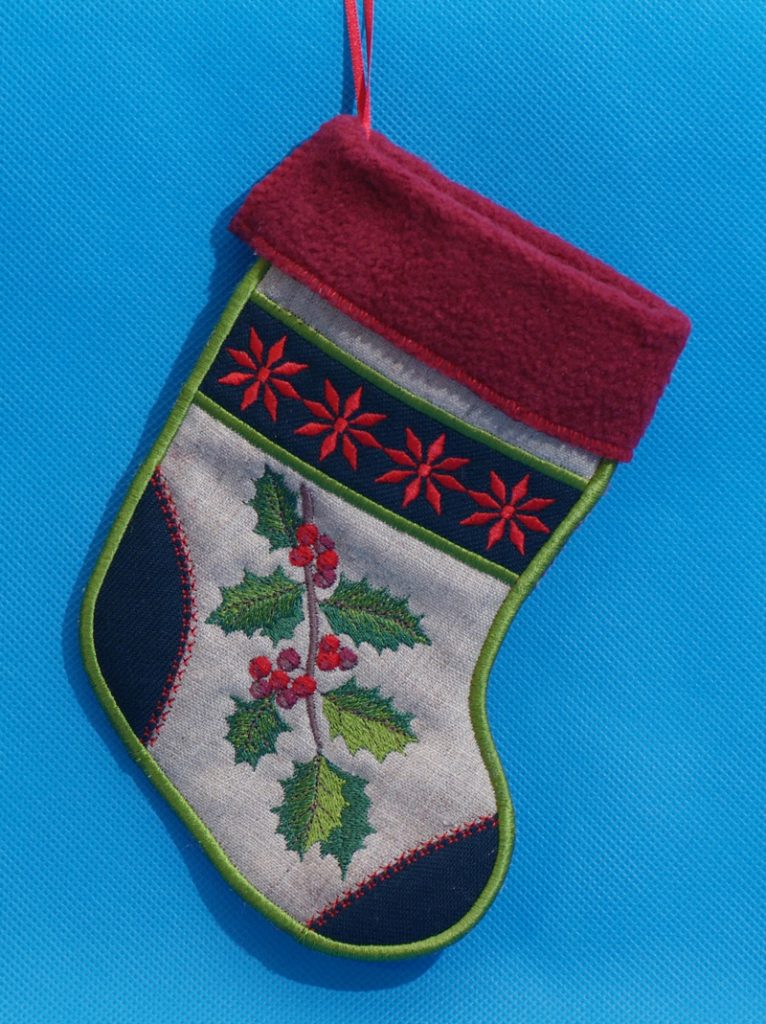
4. Fold the ribbon in half and place the ends so that they will be stitched over, in the form of a loop. Stitch the stocking top (for the stocking top, simply cut out the strip of the fabric to make stocking about 5 cm im width, the edge can be finished with a decorative line). The design is ready (Photo 13)!
Merry Christmas!