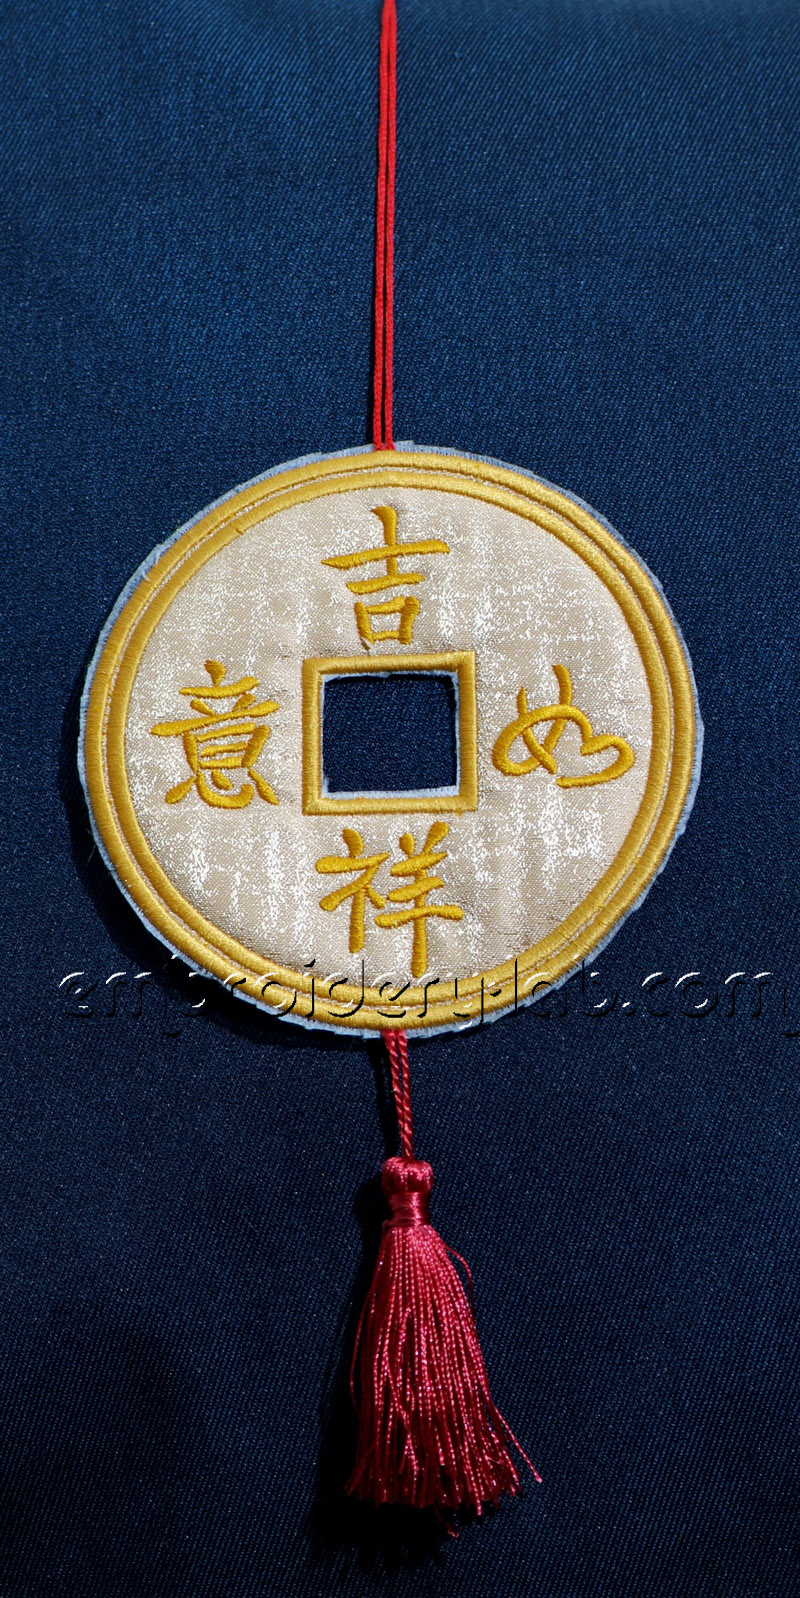
Feng Shui Lucky Coin hanging decoration
You can purchase Feng Shui Lucky Coin 0001 hanging decoration digital embroidery design in our shop.
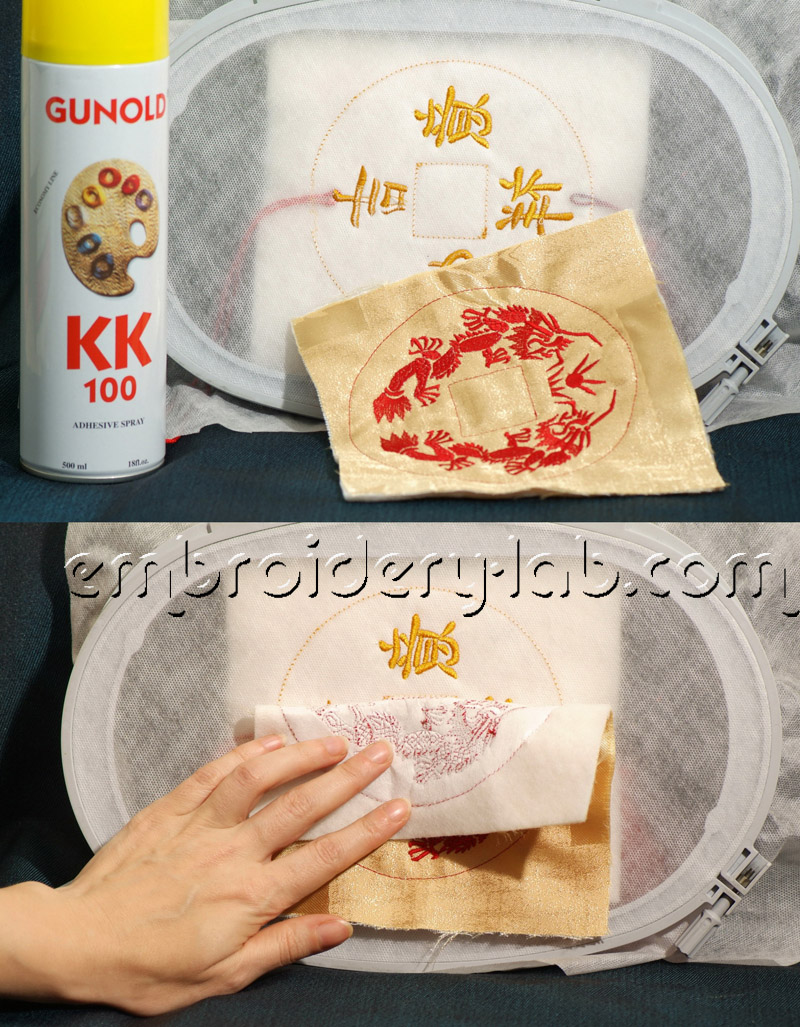
Supplies needed (photo 1):
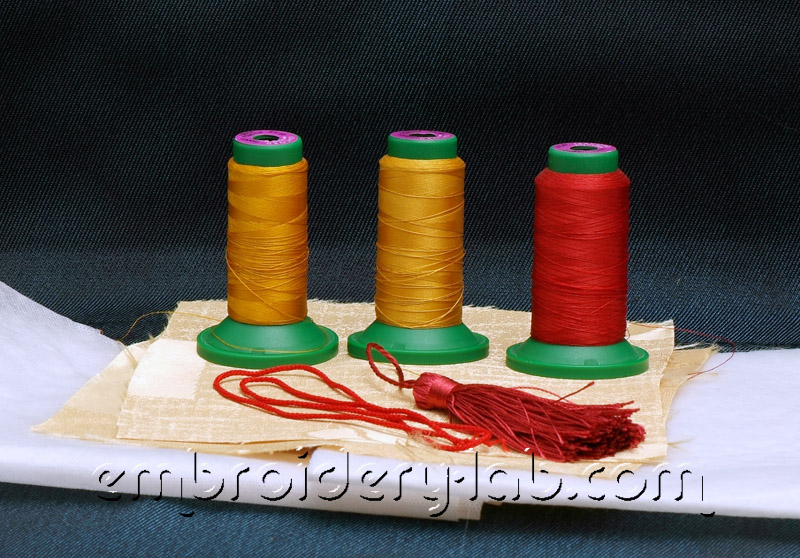
- A water soluble non-woven stabilizer. For instance, Freudenberg’s Vilene Soluvlies / Solufleece;
- Thick tear-away stabilizer (optional);
- Medium- to heavyweight fabric. If you use lightweight fabric duplicate it for extra padding (Vieseline H200);
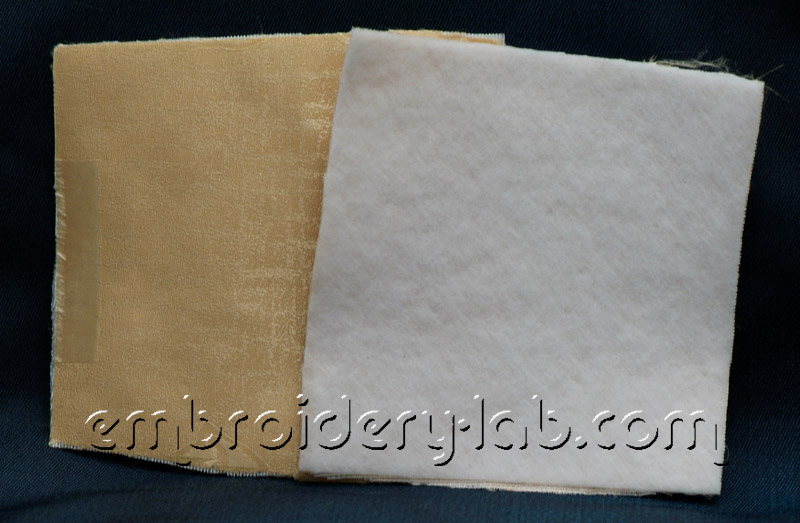
- Fusible fleece. It’s very easy to use a lightweight iron-on pellon (fusible fleece) Vilene H630. Fix H630 on the back side before you start embroidering (photo 2);
- A tassel, lace or ribbon for the hanger;
- Temporary adhesive spray. Before start working, test your temporary adhesive spray on your water-soluble stabilizer.
Let’s embroider a back side of the coin – Hanging Feng Shui Lucky Coin 0001 Decoration back.
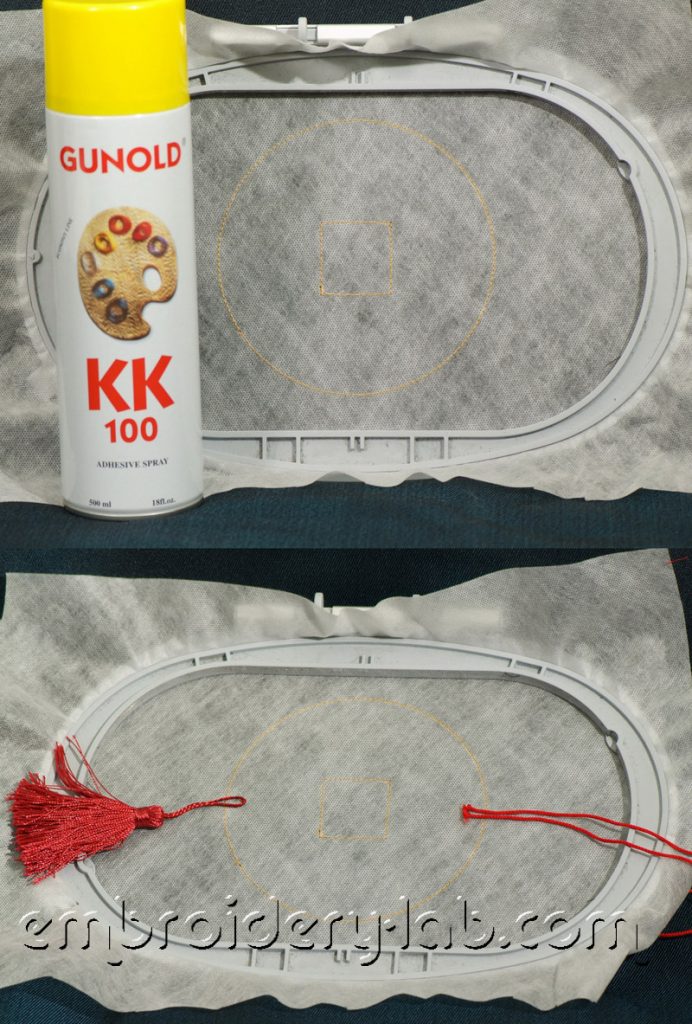
1. Hoop the water-soluble stabilizer (you can use tear-away stabilizer) and embroider the guidelines using running stitches – it’s colour number 1 (photo 3).

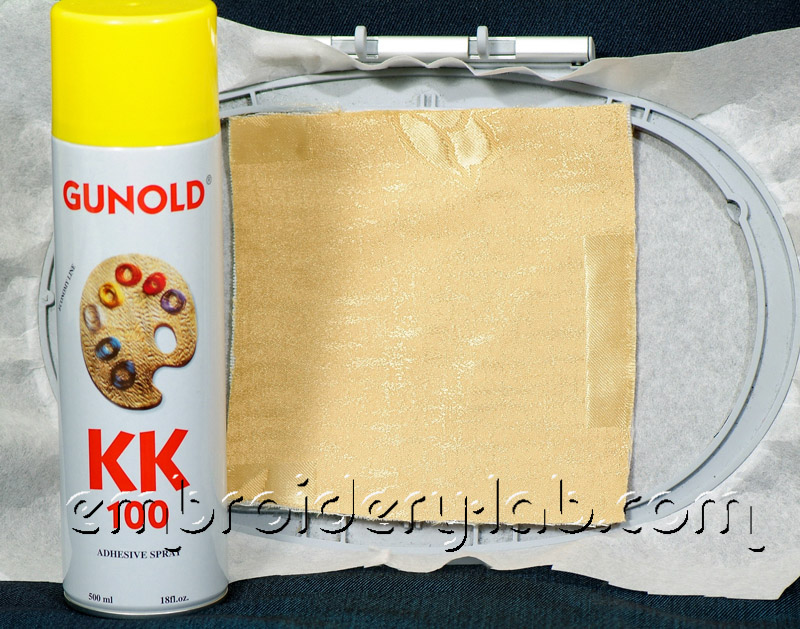
2. Spray a shot of adhesive to fix thepiece of fabric duplicated by vilene H630 over the guideline (photo 4).
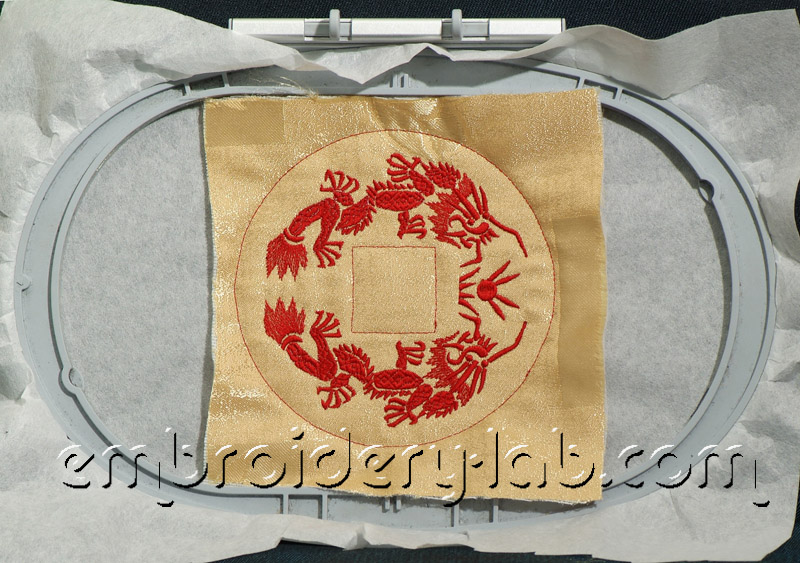
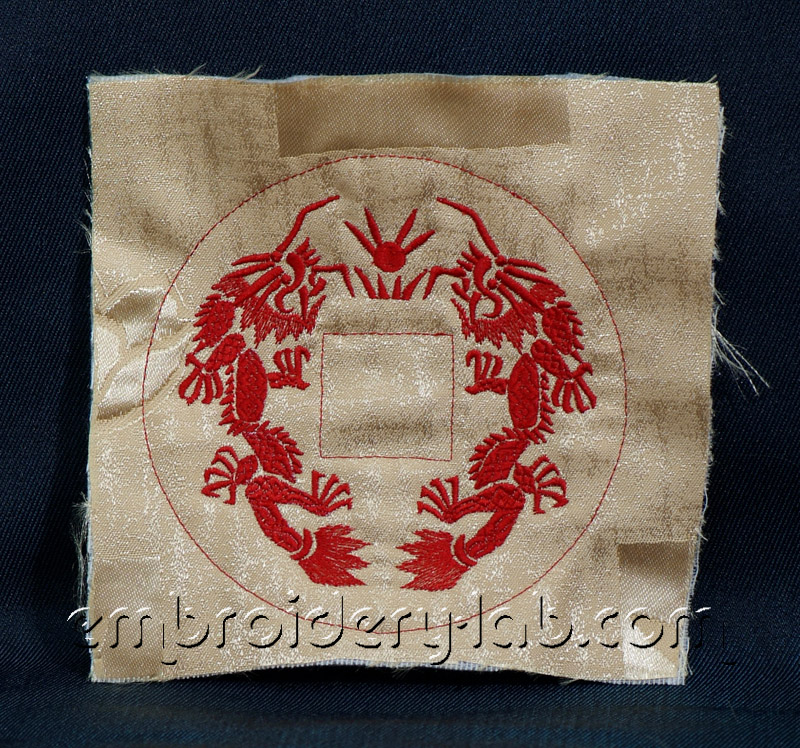
3. Embroider the rest of the design (photo 5).
4. Tear away the excess stabilizer, put aside the embroidered part of the coin (photo 6).
-
Let’s embroider a front side of the coin – Hanging Feng Shui Lucky Coin 0001 Decoration top.
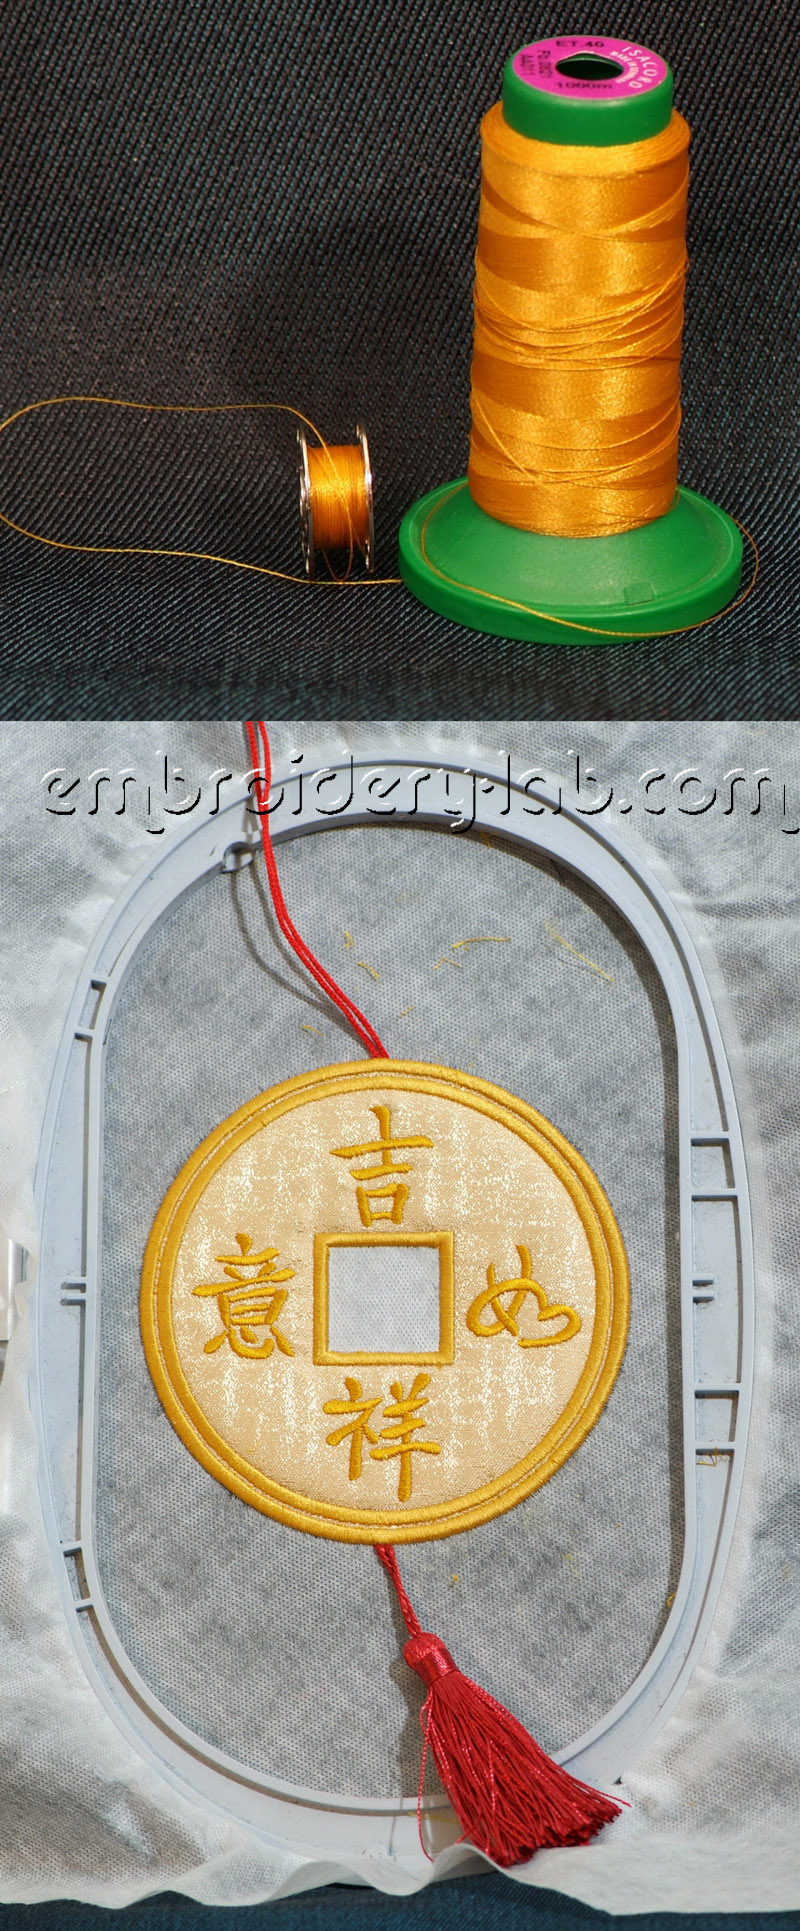
1. Hoop the water-soluble stabilizer and embroider the guideline using running stitches – it’s colour number 1. Fix the lace and the tassel using adhesive spray (photo 7).
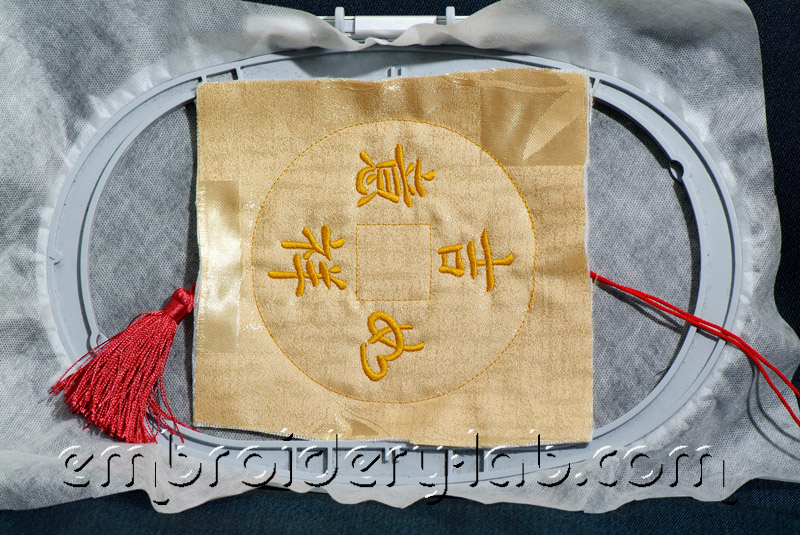
2. Fix the piece of fabric duplicated by Vilene H630 and embroider the front side – colours number 2 and 3 (photo 8).
-
Assembly.
1. Spray a shot of adhesive, then put the back side of the coin onto the back side of hoop, putting them on the water-soluble stabilizer (photo 9). Stitch all the layers together – colour number 5 – then check out the parts of the coin are matched well.

2. If everything is matched well (slight displacements are acceptable, they will be hidden under the final satin stitches) zigzag stitch around the edge. Cut away the excess of fabric from both sides of the embroidery close to the lines (photo 10). BE CAREFUL: do not damage stabilizer, the tassel and the lace.

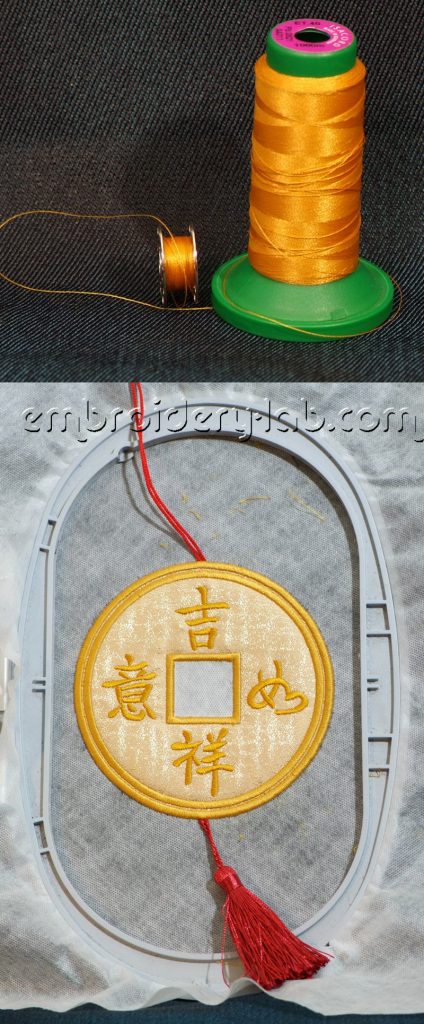
3. Embroider the rest of the design. Use the upper thread that matches the color of the bobbin thread (photo 11).
4. Carefully trim the water-soluble stabilizer around the embroidery (photo 12). You can remove remained stabilizer using water or a wet towel.

5. The design is ready (photo 13)!
