APPLIQUE WITH AN EMBROIDERY MACHINE – IT’S SIMPLE!
There is nothing hard about making an applique with your smart embroidery machine – it will automatically stop every time you need to do something with your design, for example, cut or change your appliqué fabric.
Our designs are created specially for your convenience: we use running to indicate where you need to place your applique fabric on; we use zigzag stitch to tack the applique onto the base fabric. We normally use satin stitches, E stitches or V stitches to embroider the final stitches onto the edges of the cut piece.
Note: You might need to back the fabric with one piece of cutaway stabilizer so that this applique will hold on to its place. Spray the stabilizer lightly with adhesive.
Now let’s look at the whole process using Easter Bunny applique design.
1. Hoop the fabric or material that you need to put embroidered applique on. This would be the base fabric. Start the embroidery machine and let the embroidery start with the design that you loaded. The machine will first embroider running stitches – this is a guideline to show you where you need to place your applique fabric on (photo 1)

2. Place a piece of applique fabric over the guideline. Start your machine again and tack the applique onto the fabric using zigzag stitches (photos 2, 3, 4).

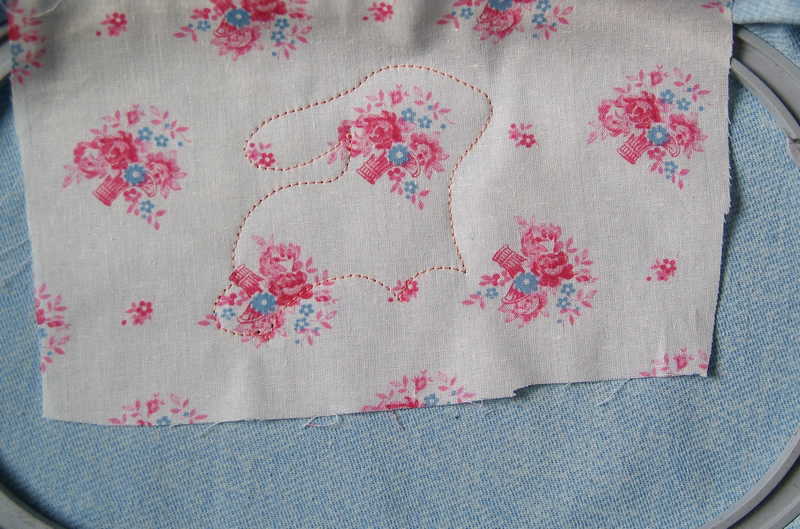

3. Use the scissors to cut away the excess applique fabric from around the tacking stitch (photo 5).

CAREFUL: do not damage the fabric and the stabilizer!
4. Embroider a guideline for the second part of the applique using running stitches (photo 6).
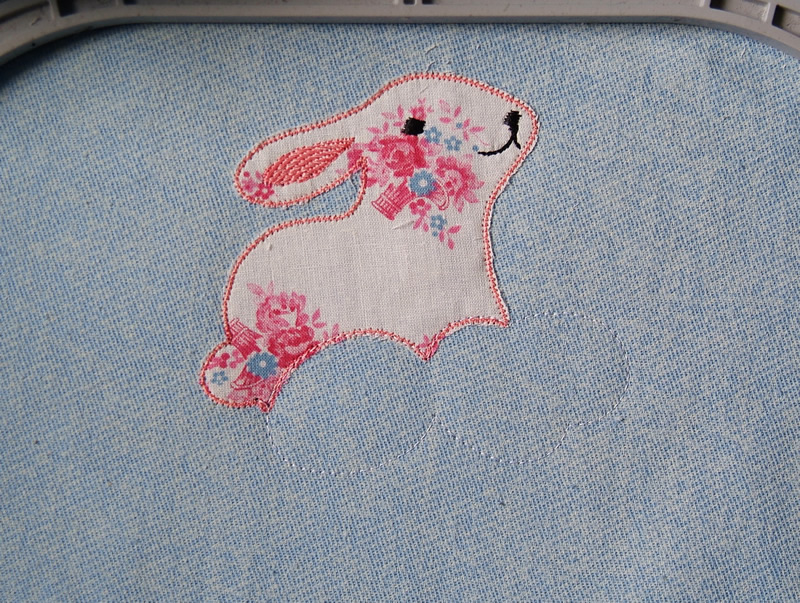
5. Place a piece of fabric over the guideline and tack it (photo 7).

6. Embroider the second part of the design (photo 8).
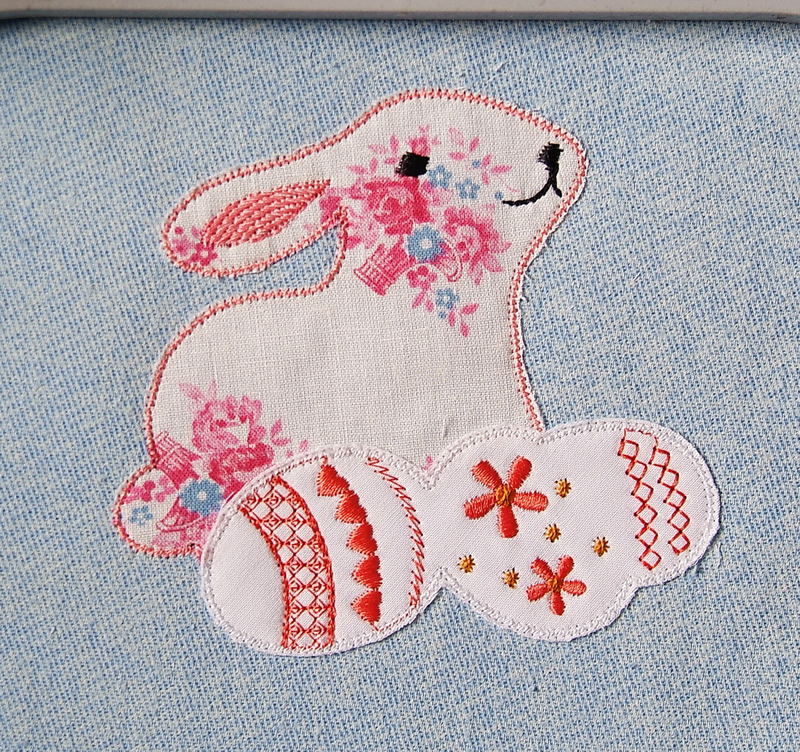
7. Embroider the final stitches onto the edges of the cut piece. Use satin stitches – this gives the applique fabric a nice, smooth seal (photo 9).

Enjoy!
Please check more masterclasses by Embroidery Lab