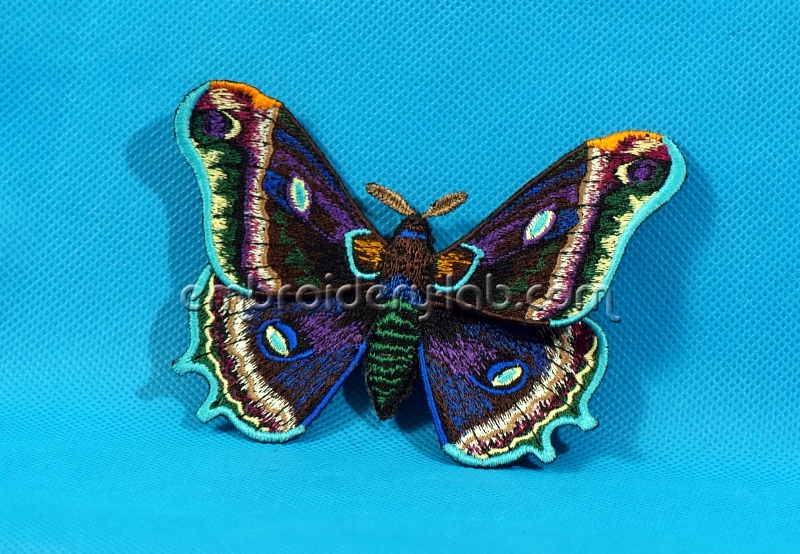
Machine Embroidery: Butterfly 3D
You can purchase Butterfly 0006 3D digital embroidery design in our shop.
The supplies needed:
- A water soluble nonwoven stabilizer. For instance, Freudenberg’s Vilene Soluvlies/Solufleece ;
- Organza;
- Machine embroidery threads;
- A little piece of elastic fabric and filler for body (for example, polyester toy staffing);
- Temporary adhesive spray;
- Stencil burner.
Let’s start with embroidering the wings!
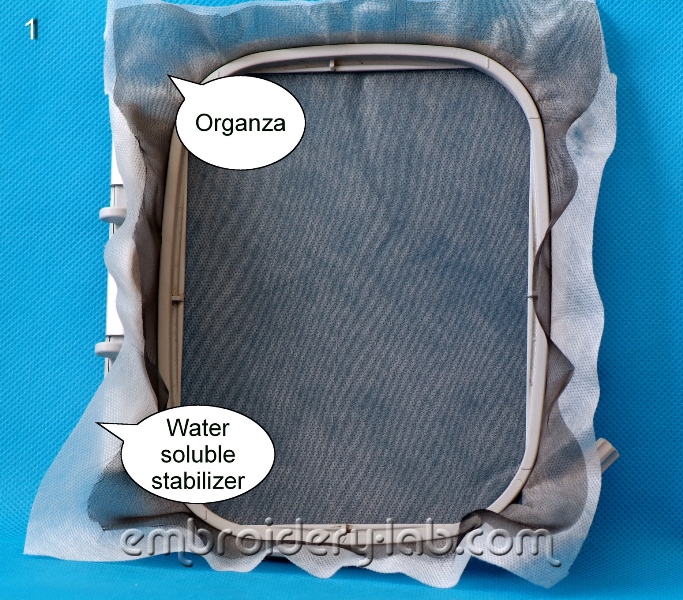
1. Hoop the water-soluble stabilizer and organza (photo 1).
2. To avoid sewing bias edges, sew the organza together with water-soluble stabilizer and pin the organza to the stabilizer (photo 2).

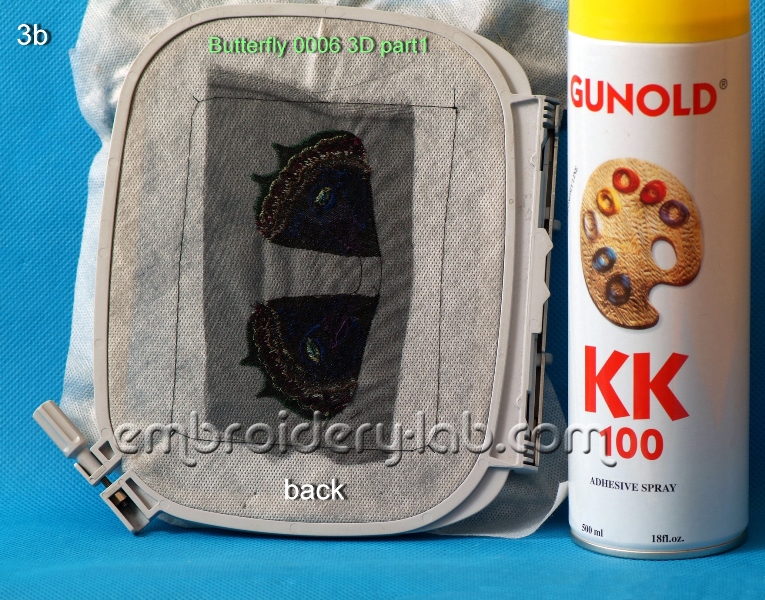
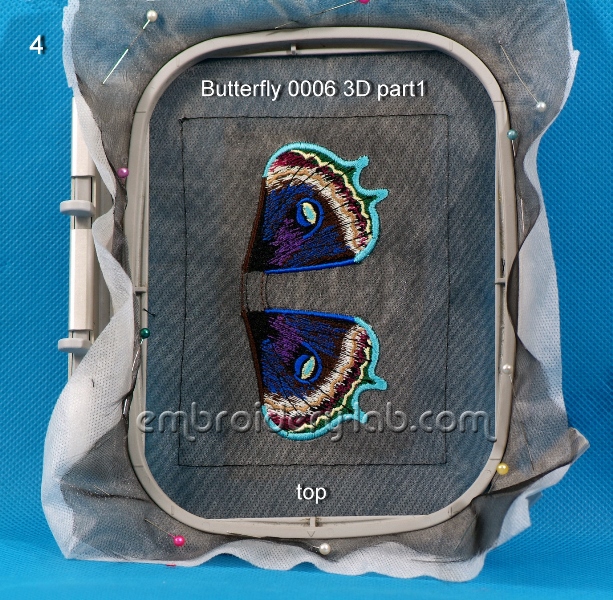
3. Embroider the Butterfly 0006 3D part 1 to the contour line (photo 3a). Spray a shot of adhesive to fix organza to the back side (photo 3b) and embroider the rest of the design (photo 4).

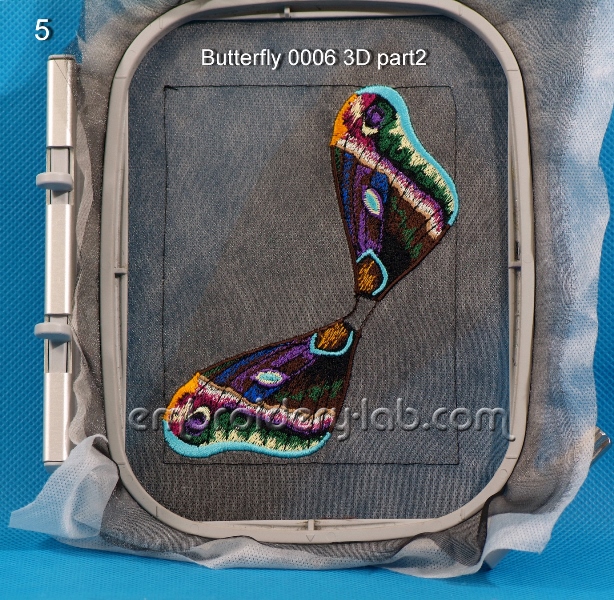
4. Embroider the Butterfly 0006 3D part 2 the same way (photo 5).
5. Cut away the excess of organza and stabilizer around the wings (photo 6).

6. Rinse the wings in warm water and pat dry. Trim the organza and then use a stencil burner to burn off the organza excess close to the embroidery (photo 7).

Let’s embroider the butterfly’s body – Butterfly 0006 3D part 3:
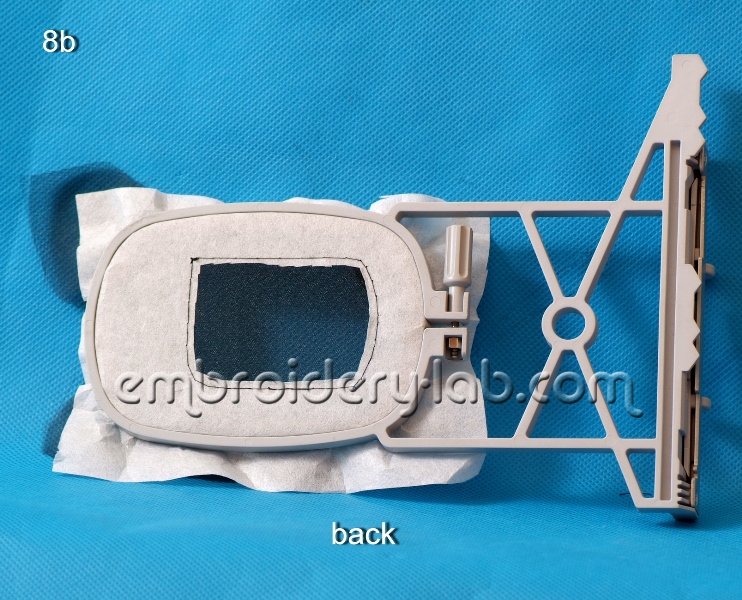
1. Hoop the water-soluble stabilizer and organza (you can use tear-away stabilizer). Stitch the stabilizer and organza (photo 8a). Cut away the stabilizer on the back side (photo 8b). BE CAREFUL: do not damage your organza!.

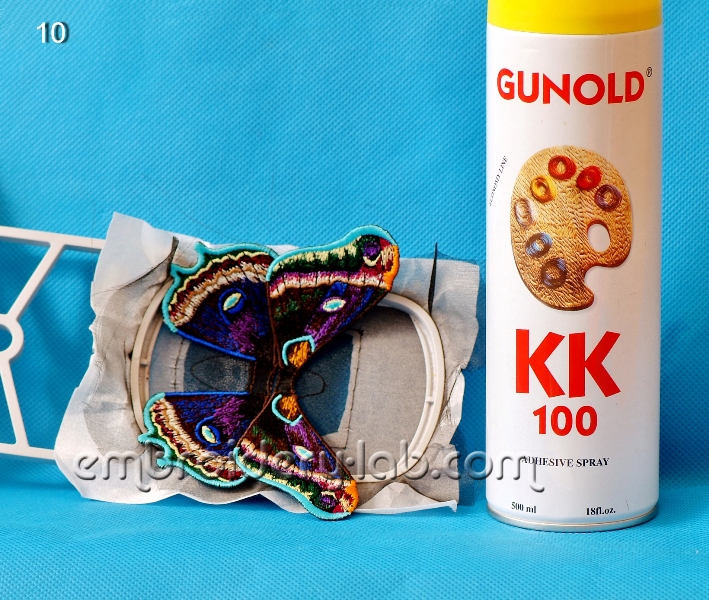
2. Embroider the body guidelines using running stitches – it’s colour number 1 (photo 9). Spray a shot of adhesive then fix the wings and stitch them – colour number 2 (photo 10).

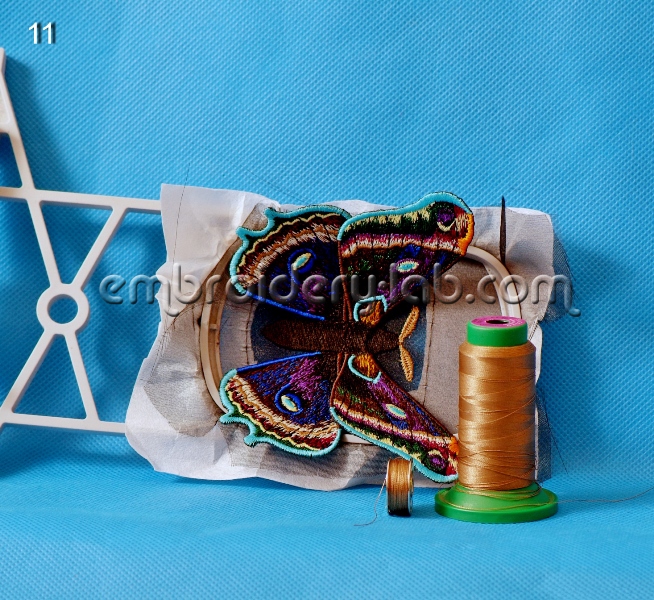
3. Embroider the butterfly body and antennae. For the antennae we are winding bobbins with the same colour as the top thread (photo 11, 12).

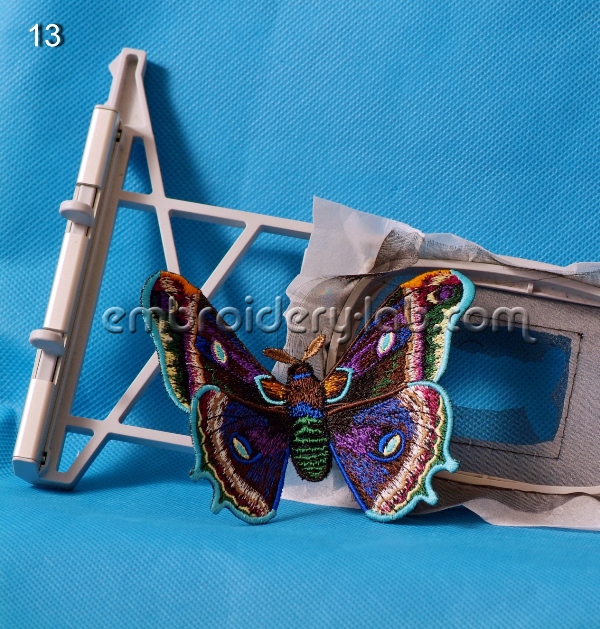
4. Cut your butterfly, trim the organza and then use a stencil burner to burn off the organza excess close to the embroidery (photo 13).
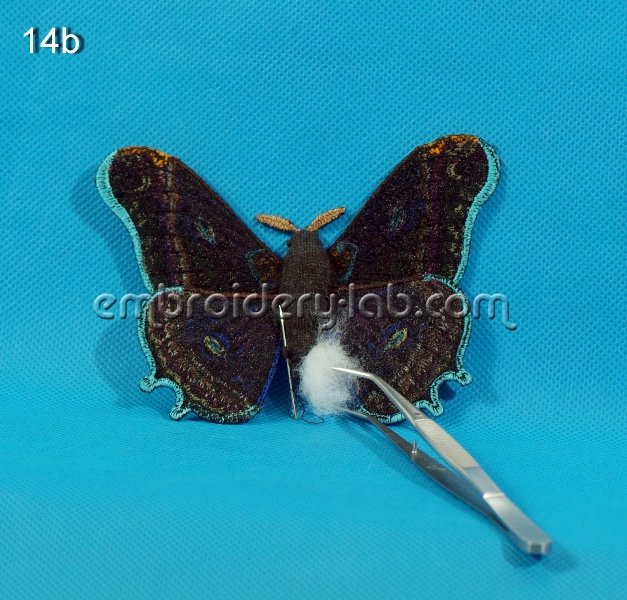
5. Take a piece of elastic fabric. Use the template provided to cut the back side of the body (photo 14a, 14b). Sew the two together along the contour, leaving a small 1cm hole at the bottom. Now, fill it with some stuffing.

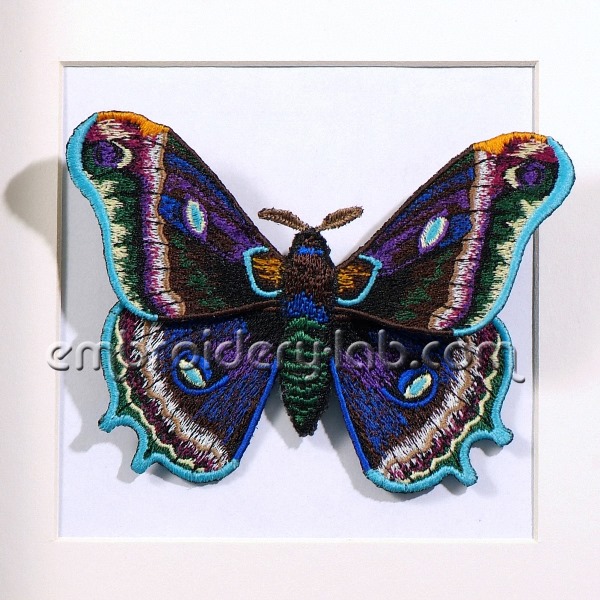
The butterfly is ready! You can use it decorate your house. It also can be used to as a brooch or as a hair clip (use the special alligator hair clips and textile adhesive or PVA glue) (photo 15, 16).